


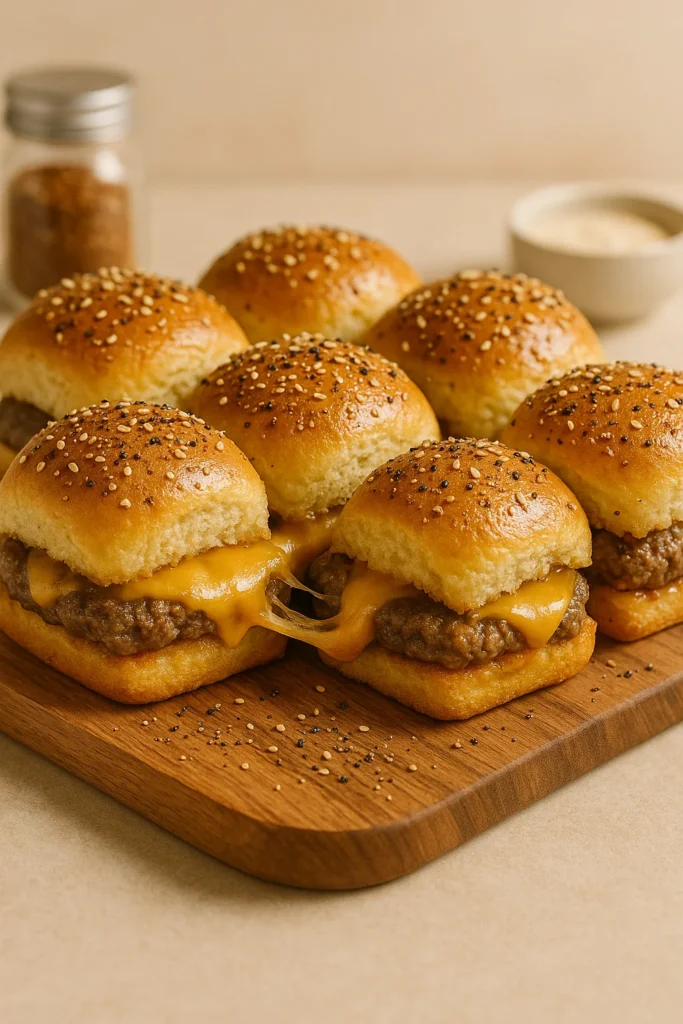
Cheeseburger sliders for a baby shower work because they skip the part of slider-making nobody enjoys: shaping a dozen identical little patties by hand. Here, the meat goes into the pan in one even layer, bakes as a slab, and gets sliced into squares after the cheese melts and the bun tops bake on. Less shaping, same result.
The flavor holds up exactly like a real cheeseburger should. Seasoned 80/20 beef stays juicy under a layer of melted cheddar, and the connected Hawaiian bun lid toasts golden on top while staying soft underneath. Cut into a clean grid, they look like miniature burgers without anyone having spent twenty minutes forming patties by hand.
This is the Cheeseburger sliders recipe to make when you want something that tastes like effort but takes about as much work as a sheet-pan dinner. Want proof a baby shower appetizer can be both impressive and low-stress? This is it.
Why Cheeseburger Sliders Work at a Baby Shower
The sheet-pan method is the whole point. Instead of standing at the counter rolling twelve patties by hand, you press one slab of seasoned beef into a baking dish, bake it once, and let the oven do the shaping for you. That alone saves fifteen minutes you’d rather spend doing literally anything else before guests arrive.
Slice into one fresh out of the oven and the cheddar pulls into a long stretch before it breaks, the toasted bun top giving way to a soft, buttery crumb underneath. The beef stays juicy because the cheese seals in the moisture while it melts, so even sliders that sit out on a buffet table for an hour still taste fresh, not dried out.
And because everything bakes together, you get twelve identical sliders in the time it’d take to shape four by hand.
Ingredients
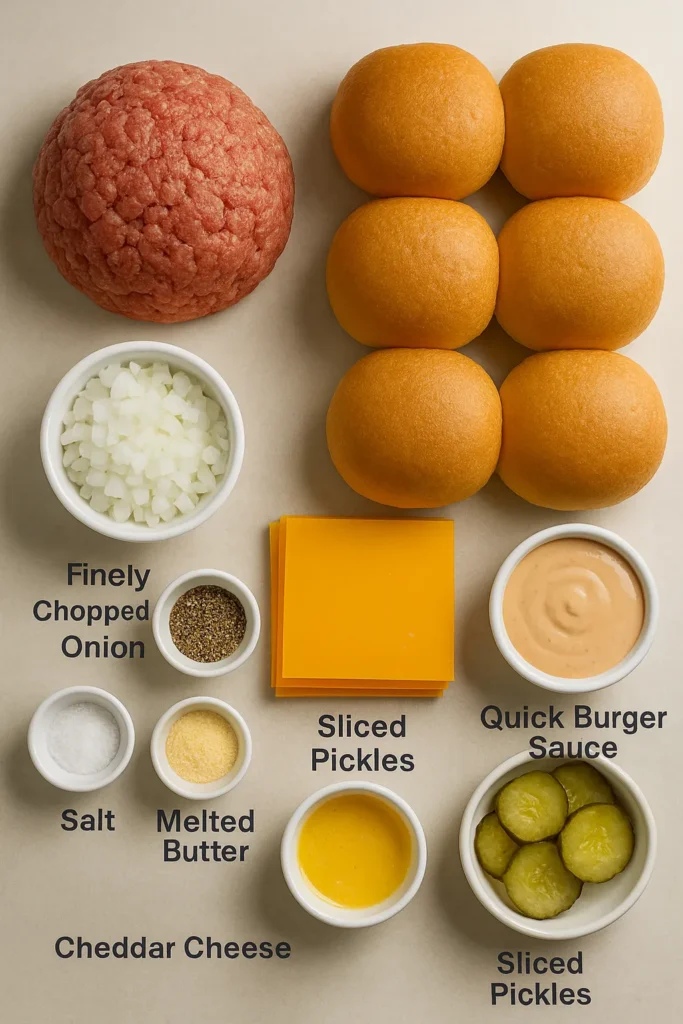
- 1 pound (450 g) ground beef (80/20)
- 12 Hawaiian-style slider buns, tops and bottoms connected
- 8 slices cheddar cheese
- 1 small onion, finely chopped
- 1 teaspoon salt
- 1/2 teaspoon black pepper
- 1/2 teaspoon garlic powder
- 2 tablespoons melted butter, for brushing
- Pickles, for topping (optional)
- Quick burger sauce: 2 tablespoons mayo, 1 tablespoon ketchup, 1 teaspoon pickle relish, pinch of garlic powder (optional)
Buy slider buns with the tops and bottoms still connected as one sheet, since that’s what lets you lift the whole bun lid onto the cheese in a single piece instead of placing twelve tiny buns one at a time. Hawaiian rolls work because they’re sweet enough to balance the savory beef, but any soft connected slider bun does the job. Skip the burger sauce if you’re short on time; it’s a nice touch, not a requirement.
What you’ll need:
9×13 Nonstick Baking Dish — holds the meat slab flat and even so the whole sheet bakes at the same rate
Serrated Bread Knife — slices clean squares through the bun without crushing the slider underneath
Silicone Pastry Brush — gets an even, glossy coat of butter across the bun tops
Hawaiian Slider Buns, Connected 12-Pack — the lift-the-whole-lid trick only works with buns sold this way
As an Amazon Associate, ShowerGourmet earns from qualifying purchases.
How to Make Cheeseburger Sliders Step by Step
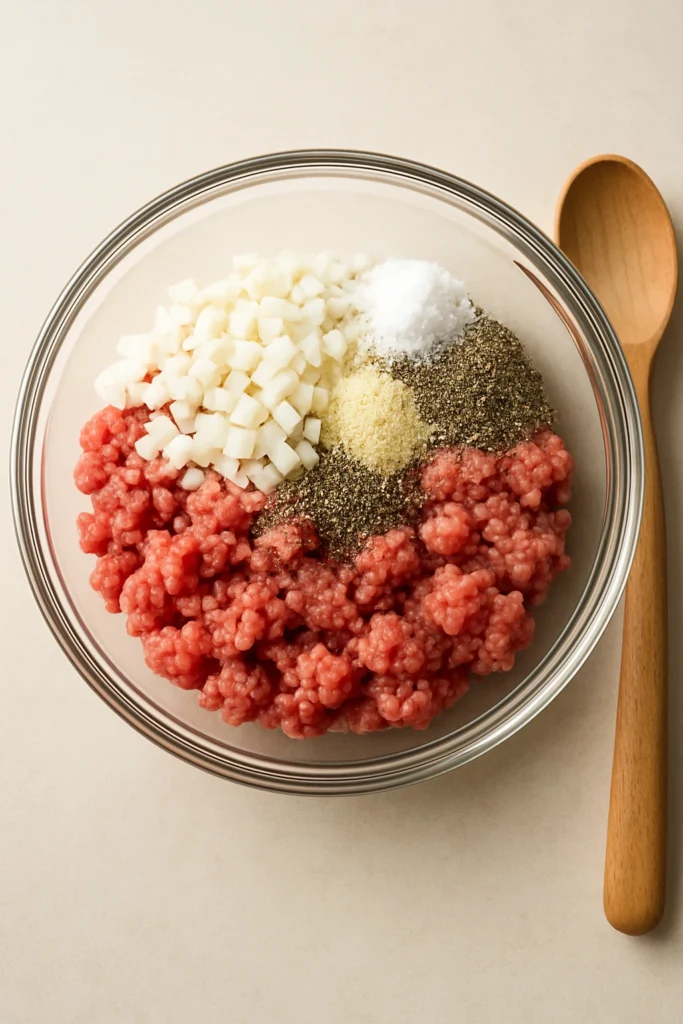
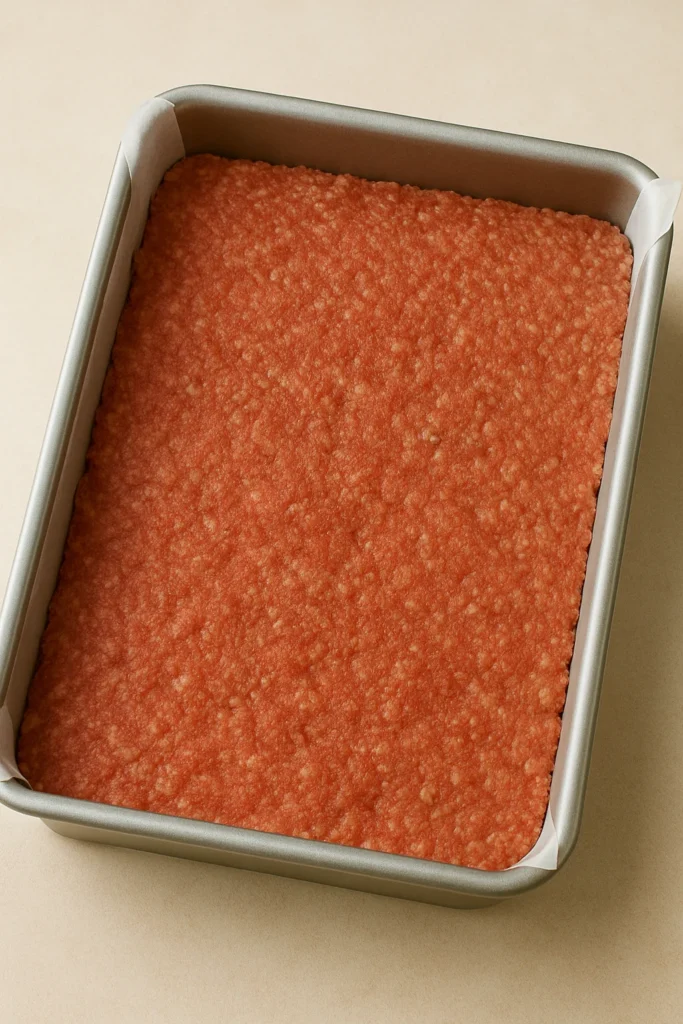
Step 1 — Mix and Press the Meat: Preheat the oven to 350°F. In a large bowl, mix the ground beef, chopped onion, salt, pepper, and garlic powder, working it just until combined. Overmixing is the one thing that makes these tough, so stop as soon as you don’t see streaks of onion. Line a baking dish with parchment paper and press the meat into one even, compact layer, all the way to the edges.
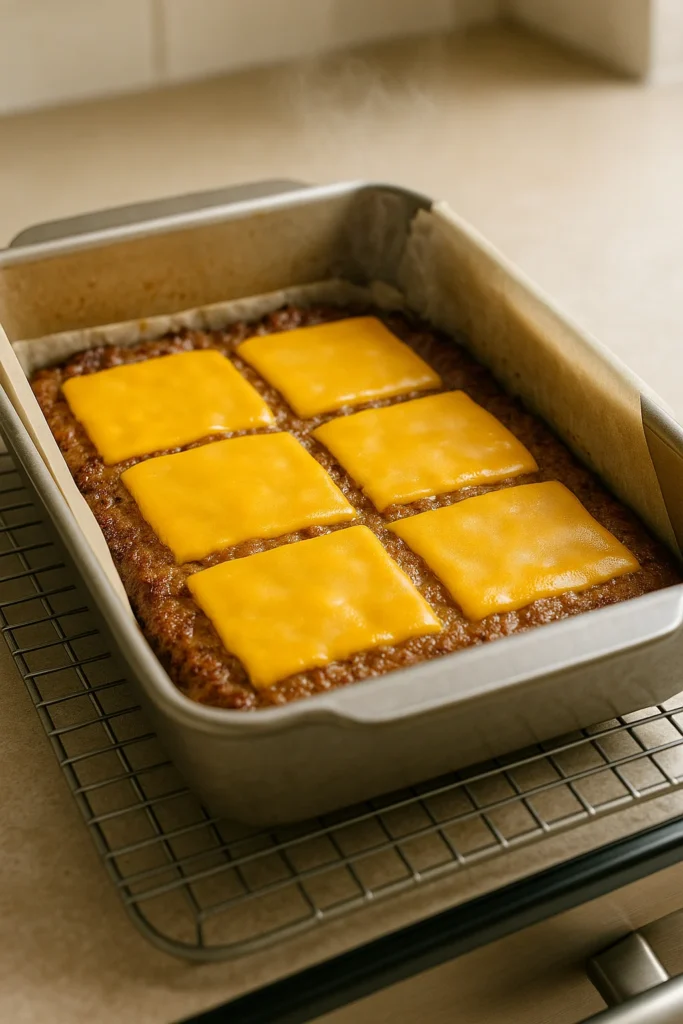
Step 2 — Bake and Melt the Cheese: Bake the meat layer for 15 minutes, until it’s cooked through and the edges start to pull in slightly from the parchment. Pull it out, lay the cheese slices over the top in a single layer, and slide it back in for 3 minutes, just long enough for the cheese to fully melt and start to bubble at the edges.
Step 3 — Add the Bun Top and Bake Again: Lift the connected top half of the slider buns as one piece and set it directly over the melted cheese. Brush the tops with melted butter so they brown evenly and pick up a glossy sheen. Bake for another 5 minutes, until the tops are golden and the kitchen smells like a backyard cookout.
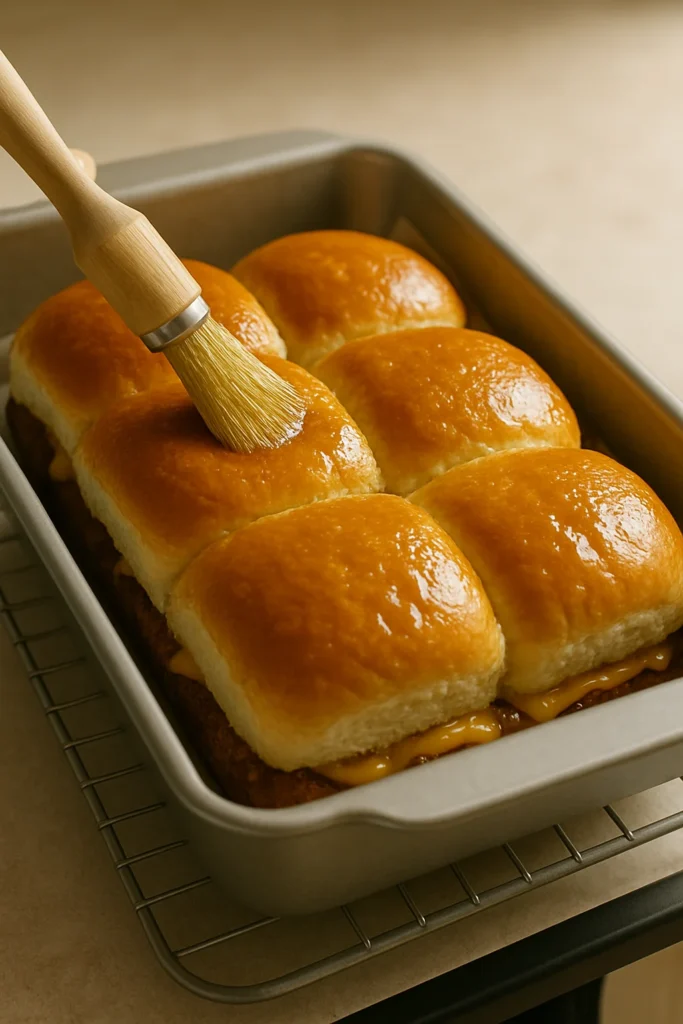
Step 4 — Slice and Serve: Let the pan rest for a minute before cutting. Use a serrated knife to slice straight down through the bun lines into even squares, and lift them out with a small spatula. Serve warm, while the cheese is still a little soft in the center.
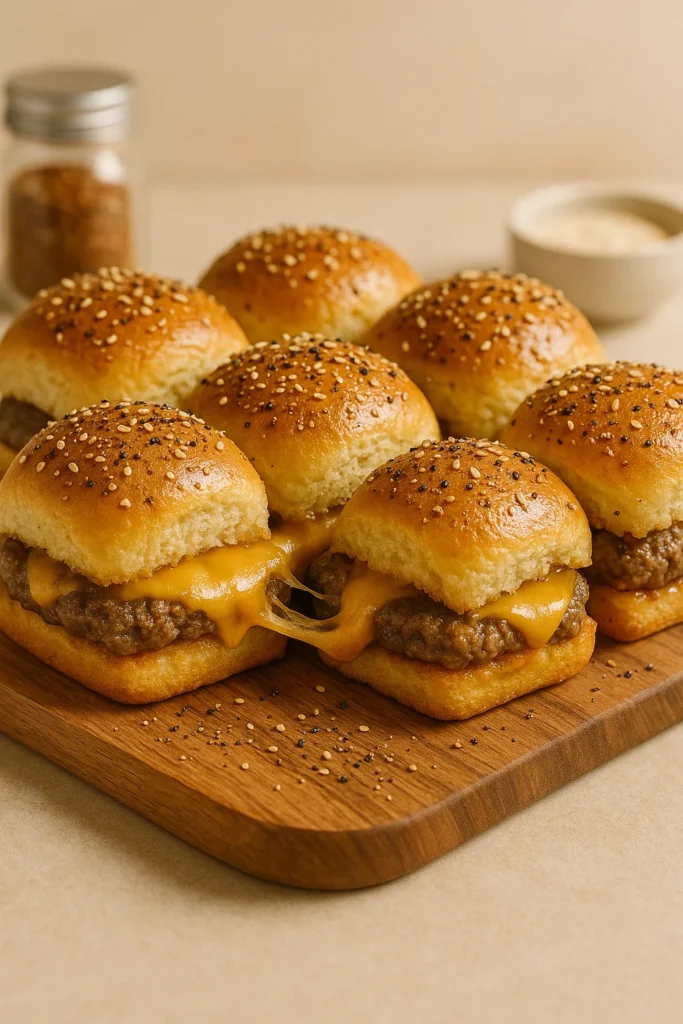
The first time I made these for a shower, I sliced them straight from the oven and lost half the cheese to the cutting board. Now I set a timer for that rest minute every time — skip it and the cheese drags out the sides instead of staying inside.
A serrated knife matters more than people expect, too. A straight blade tends to push the bun down and squash the layers instead of slicing clean through. And if you’re using the burger sauce, spread it under the cheese before the second bake, not on top afterward, so it melts into the slider instead of sitting on top of it.
How Much to Make Cheeseburger Sliders for a Baby Shower
Cheeseburger sliders are filling enough to count as a more substantial bite, so plan on roughly 1.5 sliders per guest if they’re one of two or three savory options on the table. The recipe above uses a standard 12-count package of slider buns and makes 12 sliders.
For 15 guests, make 2 batches, which yields 24 cheeseburger sliders. You’ll need 2 pounds of ground beef, 24 slider buns, and 16 cheese slices.
For 20 guests, make 3 batches, which yields 36 cheeseburger sliders. You’ll need 3 pounds of ground beef, 36 slider buns, and 24 cheese slices.
For 30 guests, make 4 batches, which yields 48 cheeseburger sliders. You’ll need 4 pounds of ground beef, 48 slider buns, and 32 cheese slices.
Cheeseburger Slider Variations
Bacon BBQ Cheeseburger Sliders
Swap half the cheddar for smoked gouda and stir two tablespoons of BBQ sauce into the meat before pressing it into the pan. Add crumbled bacon when the cheese comes out of the oven, before the bun lid goes on. The smokiness pairs well with something bright, like a fruit platter, to cut the richness.
Mushroom Swiss Cheeseburger Sliders
Sauté sliced mushrooms in butter until deeply browned, then layer them over the meat before adding Swiss cheese instead of cheddar. It’s a more grown-up flavor suited to smaller, daytime showers. Swiss melts thinner than cheddar, so give it the same 3 minutes even though it won’t bubble quite as much.
Turkey Ranch Cheeseburger Sliders
Ground turkey replaces the beef, and a tablespoon of ranch seasoning keeps it from tasting flat the way plain turkey can. Make this version if part of your guest list skips red meat. Turkey dries out faster than beef, so pull it a minute early and check the center before adding cheese.
Which Baby Shower Themes Does This Fit?
On a Woodland Baby Shower table, set the sliders on a wood board next to moss-green napkins; the golden bun tops and melted cheddar pick up the same warm, amber tones as the rest of a woodsy spread. A Minimalist Safari Baby Shower calls for the opposite approach: a plain white platter and nothing else on it, since the sliders’ clean grid of squares already does the visual work without extra styling. For a Wildflower Baby Shower, pile them slightly askew on a floral-rimmed plate instead of lining them up; the casual, just-set-down look fits a garden-party table better than anything too tidy.
What to Serve With Cheeseburger Sliders at a Baby Shower
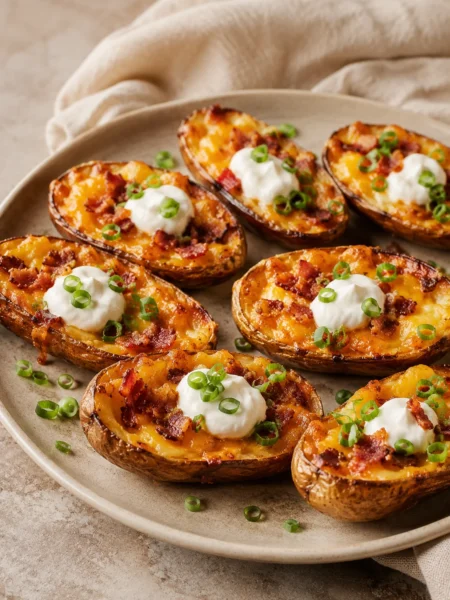
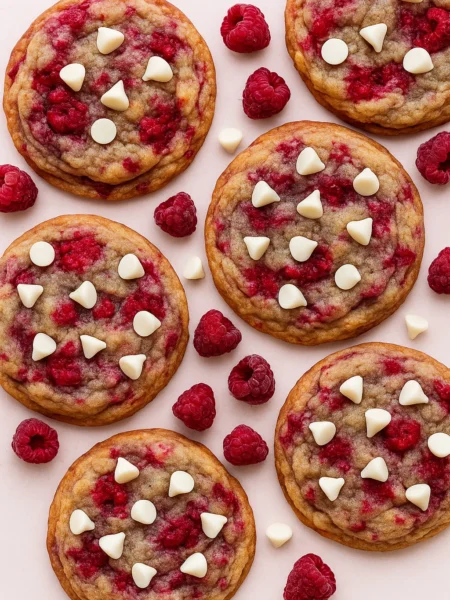
Put cheeseburger sliders next to Loaded Potato Skins for a backyard-cookout pairing that makes sense together on the same table, both finished in a few bites and both happiest served warm. Add Raspberry White Chocolate Cookies for the sweet side of the spread; the tart raspberry cuts through the richness of the cheese and butter instead of just piling on more sugar. For drinks, a round of Pink Drinks keeps things bright and non-alcoholic, with enough acidity to reset your palate between sliders. Set the tray front and center; it’s the dish people load up on first.
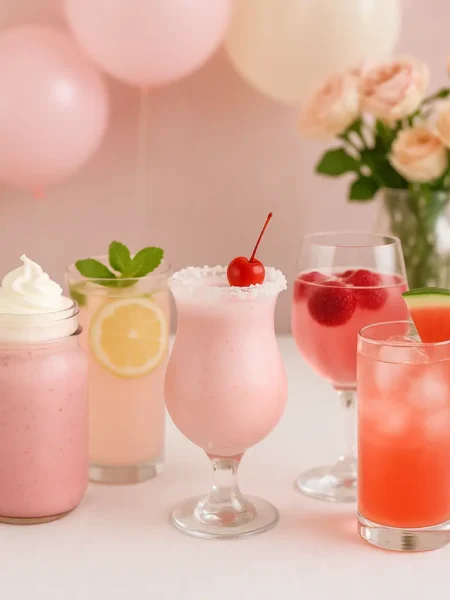
Pin this cheeseburger sliders recipe before the tab closes; you’ll want the exact bake times again next time you’re hosting.
Make-Ahead & Storage Tips
Mix the meat up to a day ahead and keep it covered in the fridge; press it into the dish right before baking so it doesn’t dry out sitting raw. You can also bake the meat layer and melt the cheese ahead of time, then refrigerate it and add the bun top fresh, which keeps the bread from going soft. Leftovers keep for up to three days in an airtight container. Reheat at 325°F for 5 to 7 minutes; the oven keeps the bun top crisp, where a microwave turns it chewy and a little tough.
Frequently Asked Questions
Can I make cheeseburger sliders ahead of time for a baby shower?
Yes. Mix the meat the day before and refrigerate it, then press it into the dish and bake fresh the morning of the shower. You can also fully bake the meat and cheese layer ahead, refrigerate it, and add the bun top right before serving so the bread stays soft instead of going stale.
Can I use regular hamburger buns instead of Hawaiian slider buns?
You can, but you’ll lose the one-piece lift-the-lid trick that makes this method fast. Regular buns mean placing each one individually, which works fine, just slower. Hawaiian rolls also add a touch of sweetness that balances the savory beef better than a plain bun does.
What cheese works best for cheeseburger sliders?
Cheddar melts evenly and gives the classic flavor, but American melts even smoother if you want that diner-style pull. Swiss or smoked gouda both work well in the variations above if you want something a little different from the standard.
How do I keep the sliders from drying out on a buffet table?
The melted cheese layer does most of the work by sealing in moisture, so don’t skip it even in the variations. Keep the tray covered loosely with foil between rounds of guests, and avoid leaving them out for more than two hours total.
Can I freeze cheeseburger sliders?
Assemble through the cheese layer, then freeze before adding the bun top. Thaw in the fridge overnight, add the fresh bun top, brush with butter, and bake as directed. Freezing after the full bake works too, but the bun loses some of its texture on reheat.
Make a half batch the first time if you’ve never tried the slab method before; it’s a fast enough test that you’ll know within half an hour whether your oven runs hot. Save this one before you close the tab; this is the kind of recipe you’ll want to find fast when a shower invite shows up with two weeks’ notice.
Cheeseburger Sliders recipe
Cheeseburger Sliders recipe made easy in 5 steps! Juicy beef, melted cheese, and soft buns — the perfect warm baby shower appetizer everyone will love.
Ingredients
Cheeseburger Sliders Instructions
-
Preheat your oven to 350°F (180°C).
-
In a bowl, mix ground beef, onion, salt, pepper, and garlic powder.
-
Press the mixture evenly into a parchment-lined baking dish.
-
Bake for 15 minutes, then top with cheese slices. Return to the oven for 3 minutes to melt.
-
Place the entire connected top half of the slider buns over the melted cheese.
-
Brush the top, external crust of the buns with melted butter.
-
Remove from the oven, slice into squares.
-
Quick Burger Sauce: Mix mayo, ketchup, relish, and garlic powder. Spread under the cheese for extra flavor.
