


There’s a particular kind of shower guest who shows up with a book on the registry instead of a stuffed animal. You know the one. They’ve already picked out the baby’s first Halloween costume, and they’ll clock a Deathly Hallows reference on the invitation before anyone else in the room does.
This cake is for that shower.
It doesn’t lean on licensed characters or printed logos — just the visual language everyone already recognizes. Round glasses. A gold lightning bolt. Deep house colors instead of pastel florals. Somehow that restraint makes it feel more intentional than a cake plastered in cartoon faces would.
Here’s the honest part: this isn’t a beginner cake. The house-color technique takes a steady hand, and the gold detailing rewards patience more than talent. But none of it is complicated once you break it into stages, and nobody at the shower needs to know how many times you wiped the spatula clean and started over.
Why a Harry Potter Cake Works
A bookish shower already has a built-in aesthetic — brass tones, deep greens and maroons, a slightly vintage feel that doesn’t ask for glitter or balloons to make its point. This cake fits right into that without forcing the theme. The house colors do the storytelling on their own, so you’re not relying on a plastic wand topper to explain what’s going on.
It also works because it photographs well without needing perfect symmetry. A slightly uneven gold drip actually reads as intentional here, in a way it wouldn’t on a smooth pastel cake. That’s a relief if you’re decorating this the night before and your hands are tired.
I’ll say this plainly: skip the wand and broomstick toppers if you can. They read as costume-party props rather than shower décor, and they compete with the cake instead of finishing it.
Ingredients
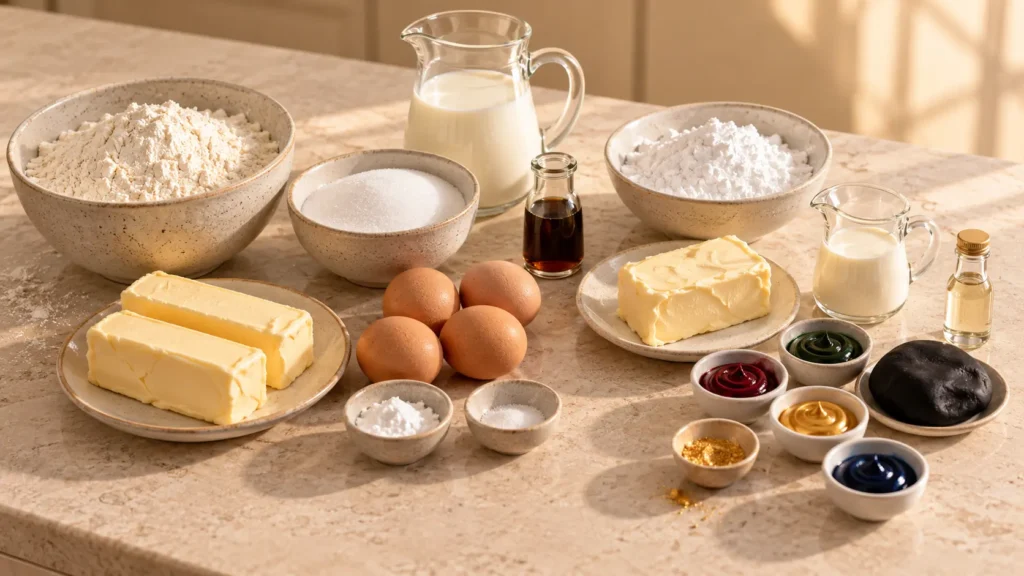
For the vanilla cake layers:
- 3 cups (360 g) all-purpose flour
- 2½ teaspoons baking powder
- ½ teaspoon fine salt
- 1 cup (227 g) unsalted butter, softened
- 2 cups (400 g) granulated sugar
- 4 large eggs, room temperature
- 1 tablespoon vanilla extract
- 1 cup (240 ml) whole milk, room temperature
For the buttercream:
- 2 cups (454 g) unsalted butter, softened
- 6 cups (720 g) powdered sugar
- 2 teaspoons vanilla extract
- 3 tablespoons heavy cream
- ¼ teaspoon fine salt
For the house-color and gold details:
- Deep red, gold-yellow, forest green, or navy gel food coloring (pick one house, or split the cake into quarters for all four)
- Edible gold luster dust
- Lemon extract, for mixing the gold dust into a paintable finish
- Black fondant, for the glasses and lightning bolt
Gel coloring matters more here than in most cakes — the house colors need to read as rich and saturated, not pastel, and liquid food coloring will thin the buttercream before you get there.
What you’ll need:
- Offset spatula — for spreading and smoothing each color band cleanly
- Gel food coloring set — the four house colors plus black
- Bench scraper — keeps the color transitions crisp instead of muddy
Before you start, it’s worth glancing at the FDA’s guidance on food color additives if you’re using a heavy hand with the gel dye, and the USDA’s cake storage recommendations if you’re baking the layers ahead of time.
How to Make It Step by Step
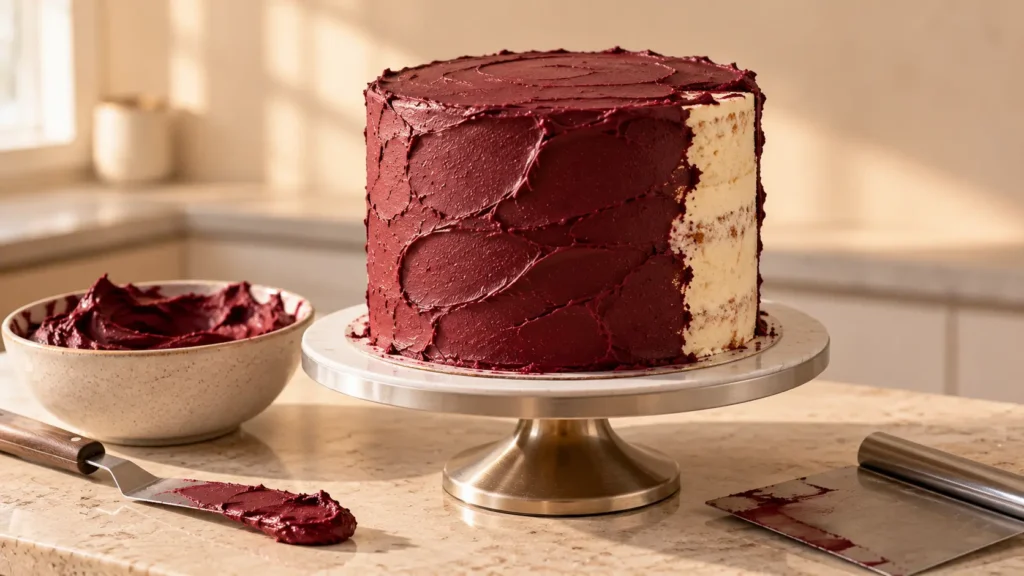
None of these steps are hard on their own. Where people get tripped up is rushing between them — this cake wants you to slow down and let each layer rest before moving to the next.
1. Prepare the pans
Heat your oven to 350°F (175°C). Grease two 8-inch round cake pans and line the bottoms with parchment paper.
This is the step people skip when they’re in a hurry. Don’t. A well-lined pan is the difference between clean layers and a cake that tears apart when you try to flip it.
2. Mix the batter
Whisk the flour, baking powder, and salt together in a medium bowl.
In a separate bowl, beat the butter and sugar for 3–4 minutes until pale and fluffy. Add the eggs one at a time, then the vanilla.
Alternate adding the flour mixture and milk in three additions, mixing only until the flour disappears.
Overmixing here gets you a dense, tight crumb instead of something soft enough to actually enjoy eating.
3. Bake and cool
Divide the batter between the pans and bake for 28–32 minutes, or until a toothpick comes out clean.
Cool in the pans for 15 minutes, then move to a wire rack and let them cool completely.
Warm cake and buttercream don’t get along. Give it the time.
4. Chill the layers
Wrap each layer tightly and refrigerate for 45–60 minutes.
Cold cake holds its shape under a spatula. Room-temperature cake just tears.
5. Crumb coat
Level the layers, fill with buttercream, and apply a thin coat over the whole cake to seal in the crumbs.
Refrigerate for 20 minutes until firm. It doesn’t need to look good yet — it just needs to hold everything in place.
6. Apply the house color
Tint your buttercream in your chosen house color (or split it into quarters for all four).
Spread it in smooth, even sections using your offset spatula, then clean up the lines with a bench scraper.
This is the part that separates a good version of this cake from a great one. Take your time here.
7. Add the gold and black details
Mix a small amount of edible gold luster dust with a few drops of lemon extract or vodka until it turns into a paintable liquid.
Use a small brush to paint a lightning bolt freehand, or use a stencil if your hand isn’t steady.
Shape small round glasses and a lightning bolt from black fondant, or pipe them directly in melted chocolate if you’d rather skip fondant altogether.
Pro Tips
Keep the decorative details generic rather than exact. A pair of round glasses and a gold lightning bolt read as “wizarding world” to every guest in the room — you don’t need an exact logo or font to get the reference across, and honestly, freehand always looks a little more charming than something traced.
If your gold paint looks streaky, let the first coat dry for 5 minutes before adding a second thin layer instead of trying to fix it wet.
One honest note: the gold dust smudges if you touch it before it’s fully dry. Decorate the gold details last, after everything else on the cake is finished.
How Much to Make for a Baby Shower
- 15 guests: One 8-inch two-layer cake (15 slices)
- 20 guests: One tall 8-inch three-layer cake or one 9-inch two-layer cake (20 slices)
- 30 guests: Two 8-inch cakes or one larger tiered version (30 slices)
I’d rather have a slice left over than run short. Someone always wants seconds once they see the gold detailing up close.
Variations
If you want to make this your own without losing the wizarding-world feel, there’s plenty of room to play.
A single-house cake works beautifully if the parents-to-be already have a house preference — commit fully to one color instead of splitting it four ways, and let the gold details do the rest of the storytelling.
Golden snitch cake pops make a fun side table addition. Dip cake pops in white chocolate, paint them gold, and add small fondant wings pressed into the sides while the chocolate is still soft.
A book-stack tiered cake swaps the round layers for square ones, stacked slightly offset to look like a pile of old spellbooks, with a small sugar “bookmark” ribbon draped over the top tier.
An owl-post cupcake add-on rounds out the dessert table if you want something beyond the cake itself — plain vanilla cupcakes topped with a small fondant envelope and a red wax-seal detail.
One honest warning about the book-stack version: it’s the most visually striking option, but it’s also the least forgiving. Uneven layers show immediately once they’re stacked, so it’s not the one to attempt for the first time the night before the shower.
Which Baby Shower Themes Does This Fit?
A Harry Potter cake doesn’t need its own dedicated shower to make sense — it slots naturally into a few themes you’re probably already planning around.
For a Woodland Baby Shower, the deep house colors and gold accents sit comfortably next to the earthy, muted palette the theme already leans on. It doesn’t feel like two competing aesthetics fighting for attention on the same table.
If you’re planning a Boho Baby Shower, the vintage, slightly worn feel of a book-stack or gold-detailed cake fits right in without needing to match perfectly. Boho tables thrive on that “collected over time” look, and this cake reads that way naturally.
A Wildflower Baby Shower works too, especially if you lean toward a single house color rather than all four. Pair it with loose greenery and a simple cake stand, and it looks intentional rather than themed.
My honest opinion? Don’t overdecorate the table around this cake. It already does the visual work on its own.
What to Serve With Harry Potter Baby Shower Cake
Once the cake’s cut, it’s nice to have a few things on the table so guests can keep grazing instead of hovering around the cake stand.
The rich vanilla base pairs well with Strawberry Crunch Cookies, which add texture without pulling attention from the cake itself. If you’re setting out drinks, Drinks & Mocktails offer something refreshing to cut through the richness of the buttercream. And for a full spread, Mini Chicken and Waffles give guests a savory option before they inevitably come back for a second slice.
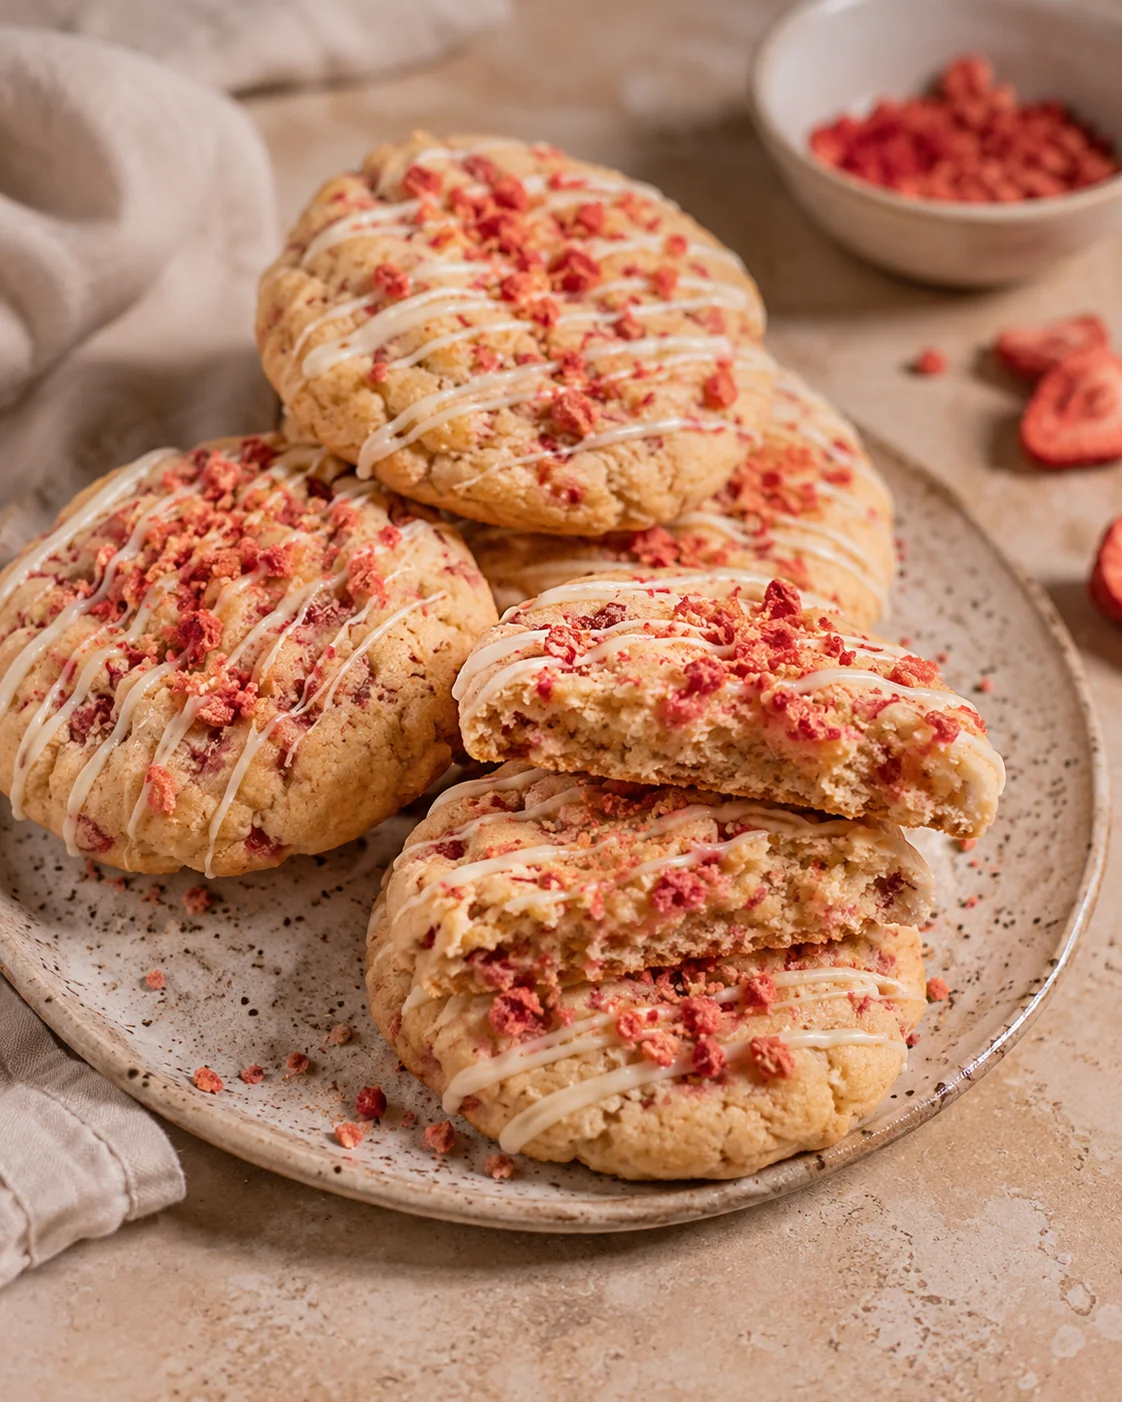
Strawberry Crunch Cookies
A little crunch and tart berry flavor that doesn’t compete with the buttercream.
See Recipe →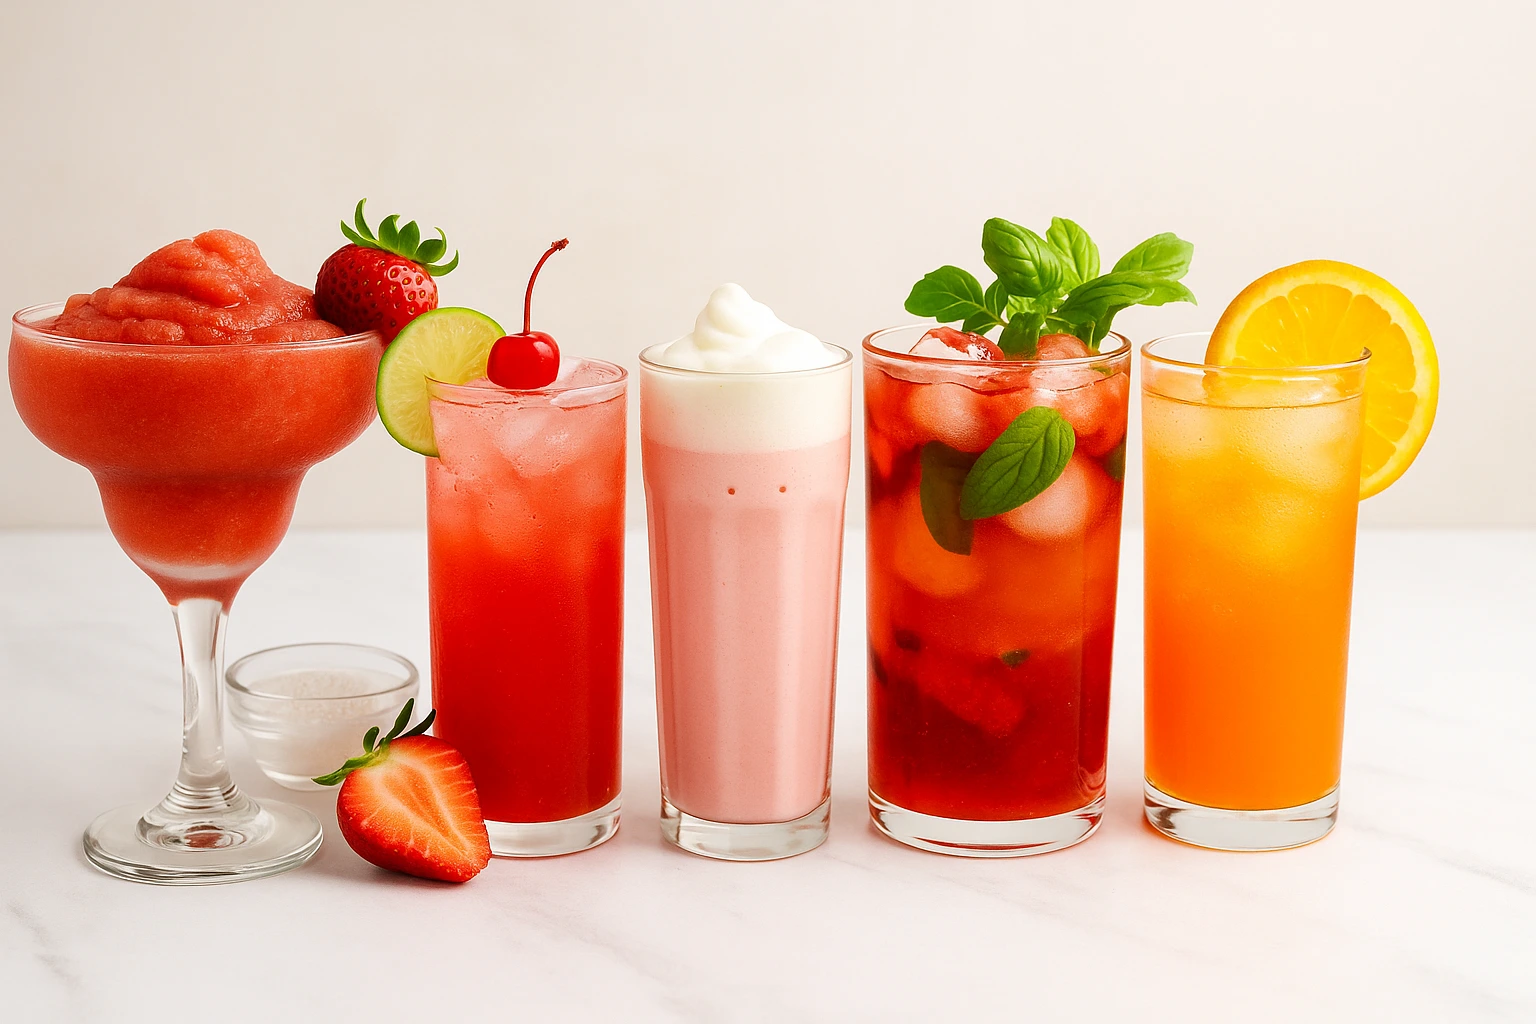
Drinks & Mocktails
Refreshing options that balance the richness of the buttercream between slices.
See Recipe →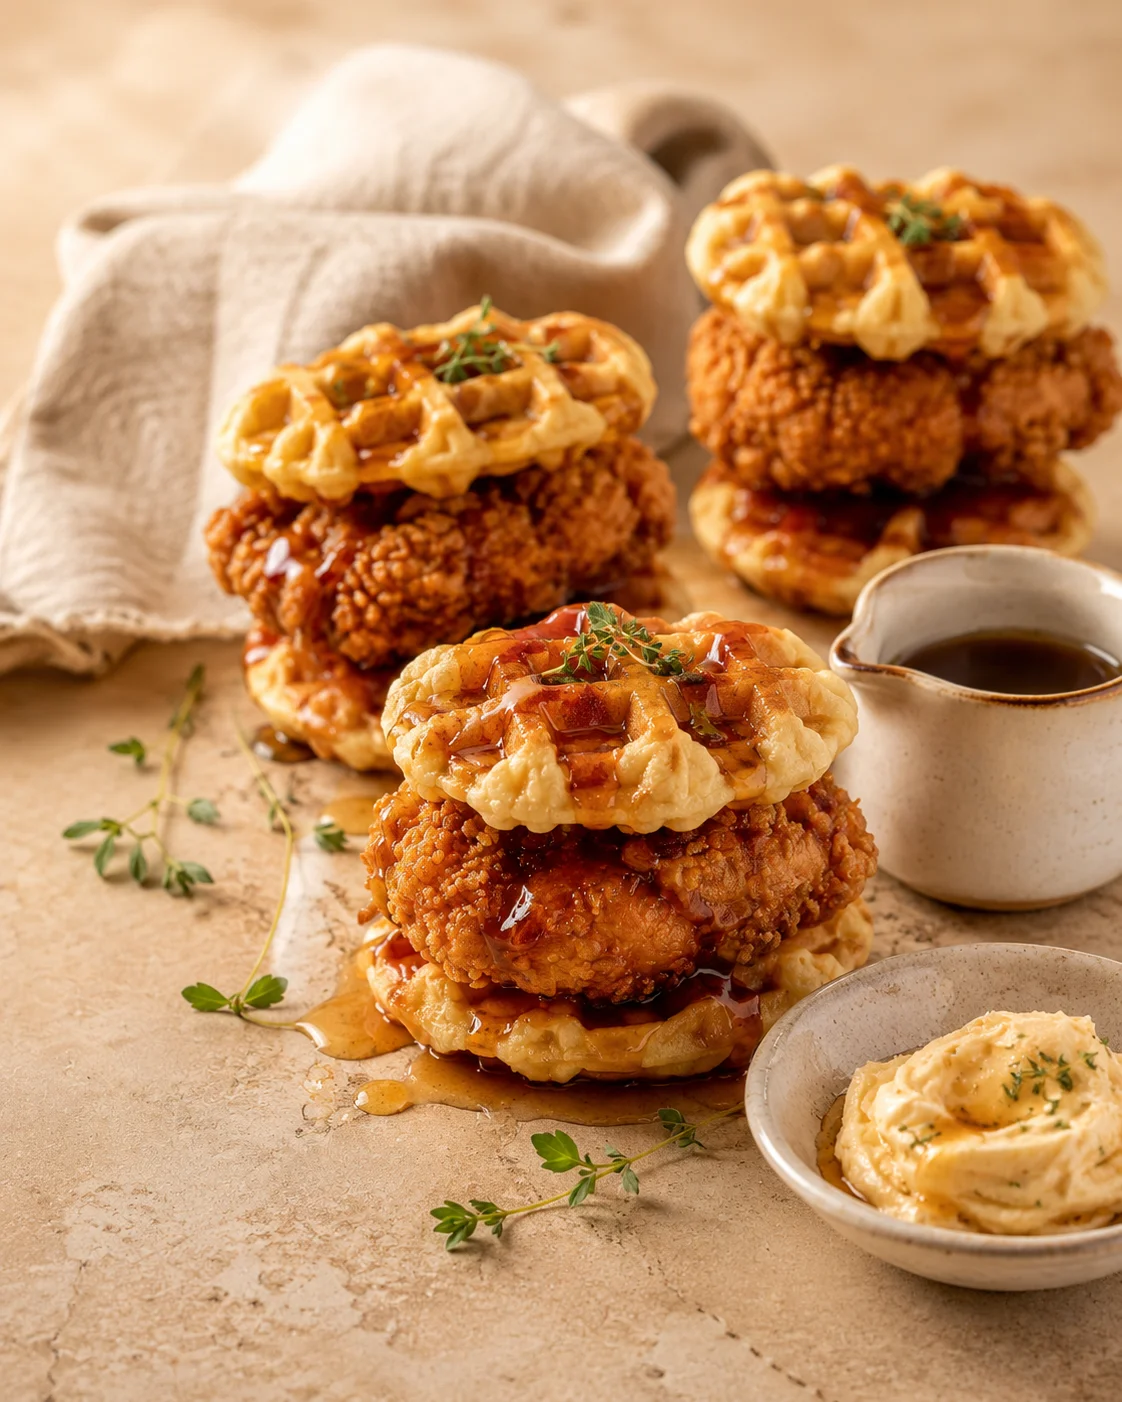
Mini Chicken and Waffles
Something savory on the table so guests aren’t going straight from cake to cake.
See Recipe →Love cakes with a little personality? Follow ShowerGourmet on Pinterest for more baby shower dessert ideas.
Make-Ahead & Storage Tips
Bake the cake layers up to 2 days ahead, wrap tightly, and refrigerate until you’re ready to decorate. The fully finished cake keeps well in the fridge for up to 3 days.
For longer storage, freeze the unfrosted layers for up to 2 months and thaw overnight in the fridge before assembling.
The gold detailing is the first thing to fade, not the flavor — humidity dulls it faster than you’d expect. If you can, paint the gold accents the same day you’re serving rather than two days ahead.
Frequently Asked Questions
Can I make this cake without fondant?
Yes. Pipe the glasses and lightning bolt directly in melted dark chocolate or black buttercream instead. It’s a little less precise than fondant, but it still reads clearly once it’s set.
How do I keep the house colors from bleeding into each other?
Chill the cake for 15–20 minutes between each color section before adding the next. A firm buttercream base keeps the lines clean instead of muddy.
What’s the best way to apply the gold detailing?
Mix edible gold luster dust with a few drops of lemon extract or vodka until it’s paintable, then apply it with a small food-safe brush in thin coats. Wet, heavy coats tend to streak.
Can I do a single house color instead of all four?
Absolutely, and it’s actually the easier version. Pick one house, commit to it fully, and let the gold accents carry the detail work instead of splitting your attention four ways.
How far ahead can I make this cake?
Bake the layers up to 2 days ahead and decorate the day before at the earliest. Save the gold painting for the morning of, since it’s the most humidity-sensitive part.
Every shower has one thing people remember after the gifts are opened. Sometimes it’s a game. Sometimes it’s a cake nobody expected to see at a baby shower at all.
That’s the appeal here. It’s a little unexpected, a little bit for the parents instead of just the baby, and it still looks completely at home next to a stack of onesies and a diaper cake.
Honest confession: I always paint the gold details twice, even when the first coat looks fine. It’s never quite as rich as I want it on the first pass.
Save this recipe to your Pinterest boards so it’s easy to find when the invitations go out.
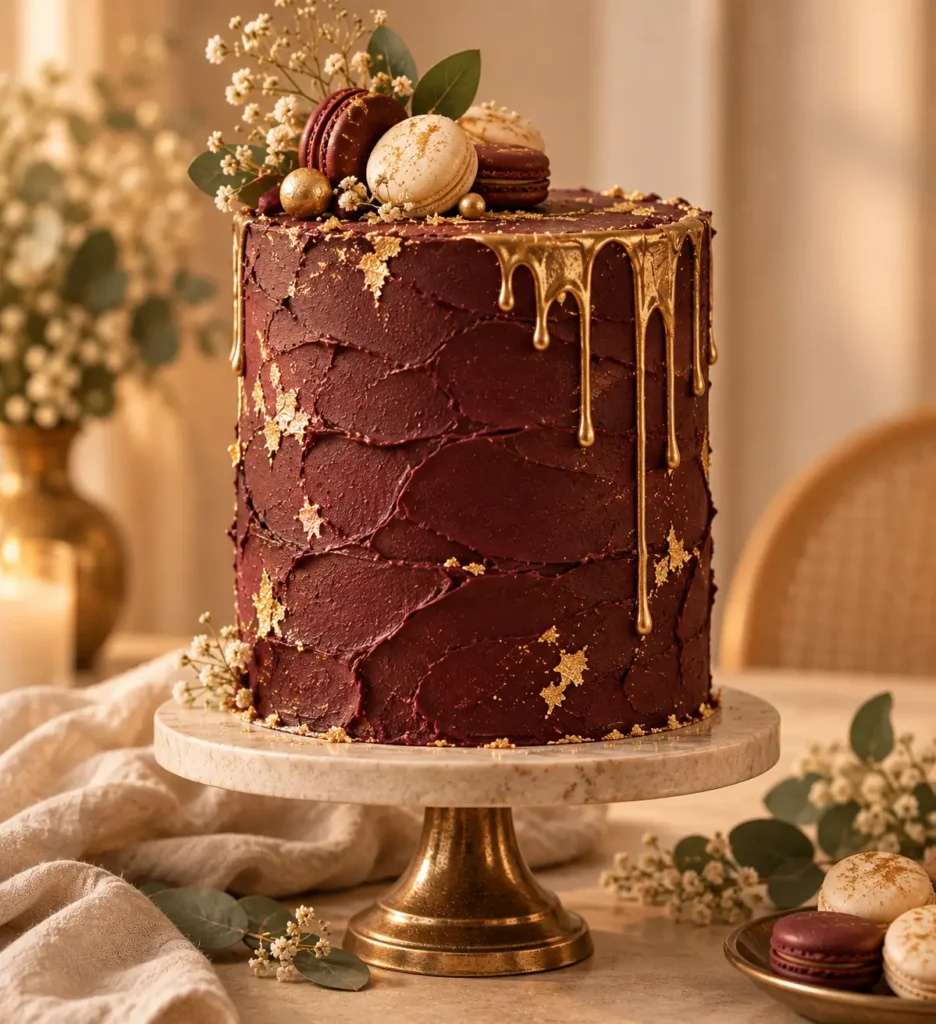
Harry Potter Cake
Ingredients
For the vanilla cake layers:
For the buttercream:
For the house-color and gold details:
Instructions
-
Preheat oven to 350°F (175°C). Grease two 8-inch round cake pans and line with parchment paper.
-
Whisk flour, baking powder, and salt in a medium bowl.
-
Beat butter and sugar 3–4 minutes until pale and fluffy. Add eggs one at a time, then vanilla.
-
Add dry ingredients in 3 additions, alternating with milk. Mix until just combined.
-
Divide batter between pans. Bake 28–32 minutes, until a toothpick comes out clean.
-
Cool in pans 15 minutes, then transfer to a wire rack and cool completely.
-
Wrap each layer tightly and refrigerate 45–60 minutes.
-
Beat butter for buttercream until smooth. Gradually add powdered sugar, then mix in vanilla, cream, and salt until fluffy.
-
Level cake layers. Fill with buttercream and apply a thin crumb coat over the entire cake. Refrigerate 20 minutes.
-
Tint remaining buttercream in chosen house color(s). Apply in smooth, even sections with an offset spatula; clean edges with a bench scraper.
-
Mix gold luster dust with a few drops of lemon extract or vodka until paintable. Apply in thin coats with a food-safe brush to form a lightning bolt.
-
Shape glasses and lightning bolt accents from black fondant and attach with a dab of buttercream. Let gold dry fully before serving.
